Don’t let credit reporting errors drag down your credit score! Discover exactly how to fix credit report errors with this 2025 comprehensive guide. We’ll walk you through navigating your consumer reports to ensure accuracy and improve your financial standing.
Begin managing your financial future by learning to identify and dispute inaccuracies, starting the process to fix your credit with the help of our top credit repair lawyers today!
Step 1: Obtain Your Credit Reports
To begin, obtain copies of your credit reports from all three major bureaus: Equifax, Experian, and TransUnion. This crucial first step allows you to review your entire credit history, including any impacting credit inquiries.
- Your Right to Free Reports: Under the Fair Credit Reporting Act (FCRA), you are entitled to one free copy of your credit report from each of the three nationwide credit reporting companies every 12 months.
- Where to Get Them: We’ve put together a step-by-step guide explaining exactly how to get your free credit report here. Be wary of other sites that claim to offer “free” reports, as they may have hidden fees or be scams.
- Stagger Your Requests: Some people choose to request one report every four months from a different bureau (e.g., Experian in January, Equifax in May, TransUnion in September). This allows for continuous monitoring throughout the year without cost.
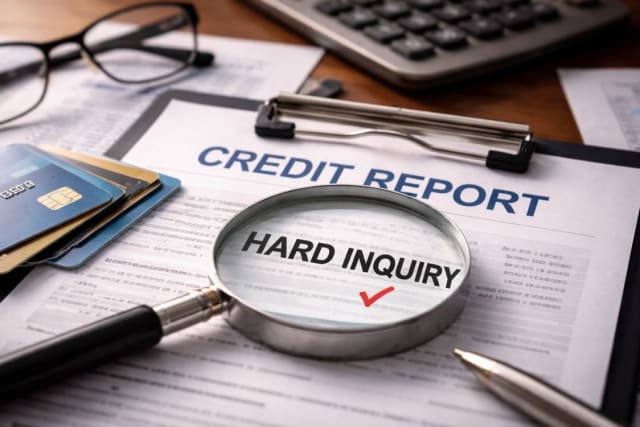
Step 2: Review Your Reports Thoroughly
Once you have your reports, carefully go through each one, looking for any inaccuracies or unfamiliar information. Pay close attention to:
- Personal Information: Incorrect name, address, Social Security number, or date of birth.
- Account Information: Accounts you don’t recognize, accounts that are duplicated, closed accounts still showing as open, incorrect payment statuses (e.g., reported late when you paid on time), incorrect loan amounts or credit limits.
- Public Records: Inaccurate or outdated bankruptcies, liens, or judgments (though many civil judgments and tax liens are no longer included on credit reports).
- Hard Inquiries: Inquiries you didn’t authorize (these occur when you apply for new credit).
- Accounts You Don’t Recognize: This could be a sign of identity theft.
Step 3: Gather Supporting Documentation
For any error you identify, collect documentation that proves the information is incorrect. This might include:
- Payment receipts or canceled checks
- Bank statements
- Copies of contracts or loan agreements
- Police reports (in cases of identity theft)
- Letters from creditors confirming account closure or payment status

Step 4: Dispute the Errors with the Credit Bureaus
This is the most critical step. You must dispute errors with the credit bureau(s) that are reporting the incorrect information.
- Why Written Disputes Are Best: While you can often dispute online or by phone, a written dispute sent via certified mail with a return receipt requested provides a clear paper trail, which is invaluable if you need to escalate the issue later.
- What to Include in Your Dispute Letter:
- Your full name, address, and contact information.
- A clear statement that you are disputing information on your credit report.
- Specific details about each item you are disputing (account number, creditor name, type of error).
- Copies (not originals) of your supporting documentation.
- A copy of your credit report with the inaccurate items highlighted.
- A request for the bureau to investigate and remove or correct the inaccurate information.
- Mail Your Dispute To: Send separate letters to each bureau reporting the error. Their contact information can be found on their websites:
- Experian: experian.com
- Equifax: equifax.com
- TransUnion: transunion.com

Step 5: The Credit Bureau’s Investigation
Once a credit bureau receives your dispute, the FCRA requires it to:
- Investigate: They must investigate the disputed item, typically by contacting the information furnisher (the creditor or lender).
- Complete within 30-45 days: They must complete their investigation within 30 days of receiving your dispute, or 45 days if you provide new information during that period.
- Notify You: They must notify you of the results of their investigation and provide a free updated copy of your report if a change was made. If an item is corrected or removed, the bureau cannot reinsert it unless the information furnisher verifies its accuracy and the bureau notifies you.
Step 6: Follow Up and Re-check Your Reports
After the investigation period, request new copies of your credit reports from all three bureaus to ensure the corrections have been made. If the disputed information was removed or corrected, it should reflect on your new report.
Step 7: What If the Error Isn’t Resolved?
If the credit bureau doesn’t resolve the error to your satisfaction, or if they claim the information is accurate but you disagree:
- Add a Statement to Your Report: You have the right to add a brief statement (100 words or less) to your credit report explaining your side of the dispute. This statement will be included whenever your report is accessed.
- Dispute Directly with the Information Furnisher: You can also dispute the error directly with the company that provided the incorrect information to the credit bureau (e.g., your bank, credit card company). They also have an obligation to investigate and correct errors.
- Contact Regulatory Bodies: You can file a complaint with:
Seek Legal Assistance
When credit report errors prove stubborn or your FCRA rights are overlooked, legal action might be necessary.
Our Consumer Protection Lawyers offer the representation required to resolve disputes and pursue litigation if needed.
Don’t let errors hold you back; connect with Fair Credit Attorneys for a confidential, free case review.